A rusty motorcycle gas tank can cause more than cosmetic problems. Loose rust flakes can clog the petcock screen, block fuel filters, restrict carburetor jets, and accelerate wear in fuel pumps or injectors. The goal of cleaning is not only to remove visible corrosion, but to stop rust from returning by drying the tank correctly and protecting the inner surface. This guide explains a practical, workshop-friendly approach to motorcycle fuel tank cleaning that you can scale from light surface rust to heavier internal corrosion.
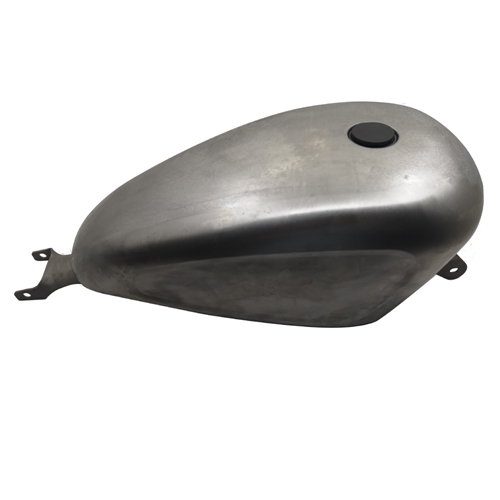
RUIYUE manufactures Motorcycle Tanks for different models and build requirements. You can explore our tank options on the motorcycle tank range.
Start by draining the fuel completely and inspecting the interior using a flashlight. Light rust often looks like a thin orange film, while heavier rust appears as rough scaling that can shed flakes. Smell and color can also help: old fuel that smells sour and looks dark usually indicates long storage and higher corrosion risk.
Also check the outside of the tank and seams. If you see pinholes, swelling seams, or fuel seepage, cleaning alone is not enough. In that case, you may need professional repair or replacement.
Cleaning a fuel tank involves flammable residues and strong chemicals. Work in a well-ventilated area away from ignition sources. Wear chemical-resistant gloves and eye protection, and keep a spill tray nearby.
Remove or protect the following parts before cleaning:
Petcock and fuel lines
Fuel pump module on EFI tanks
Level sender and internal filter parts
Rubber grommets and seals that may not tolerate chemicals
Seal openings with fuel-resistant caps or temporary plates so the tank can be shaken without leaking.
Rust removal works best when the metal is free of varnish and oil. Add a degreasing solution and warm water, then shake the tank thoroughly to loosen residue. Drain and repeat until the rinse water runs clear. If the tank has heavy varnish, a dedicated fuel-system degreaser is often more effective than household cleaners, but the key is the same: remove film so the rust-removal step can contact bare metal.
Dry the tank briefly after degreasing so the next step is not diluted excessively.
For scaling rust, chemical soaking alone can be slow. Mechanical agitation helps break loose flakes so they can drain out. Add a handful of clean nuts and bolts or short chain segments, then shake and rotate the tank in multiple directions. Focus on the lower areas where water and ethanol-blended fuel tend to sit.
After agitation, flush thoroughly to remove loose rust particles. If you skip this flush, debris can remain trapped and later re-enter the fuel system.
For internal corrosion, an acid-based rust remover can dissolve rust without aggressive grinding. Many workshops use phosphoric-acid-based products because they convert rust and can leave a surface that resists flash rusting. Vinegar can work for light rust but is slower and may require longer soaking.
Key points for chemical soaking:
Use the correct concentration and soak time for the product
Rotate the tank during soaking to wet all surfaces evenly
Do not leave strong acids for excessive time, especially on thin areas or welded seams
Flush repeatedly until rinse water is neutral and clear
If you are cleaning a severely rusty motorcycle gas tank, you may need multiple cycles: soak, rinse, inspect, then repeat until the metal surface looks uniform.
Neutralization prevents chemical residue from continuing to react. Many rust remover systems include a neutralizer; if not, a mild baking-soda solution can help. Rinse thoroughly afterward. Incomplete rinsing is a common cause of recurring corrosion because residual chemicals attract moisture or keep reacting at seams.
Flash rust can form quickly once the tank is clean. Drying is not optional. Drain completely, then use forced air or a hair dryer on a warm setting to push moisture out of seams and corners. Some workshops add a small amount of isopropyl alcohol to absorb water and speed evaporation, followed by air drying.
A good rule is to keep drying until no fogging appears on a mirror held at the filler neck and no droplets come out when you rotate the tank.
After cleaning, you have two practical options: keep the tank in active use with good storage habits, or apply an internal liner if conditions justify it. A liner can help when corrosion risk is high, but only when the surface prep is excellent and the product is compatible with modern fuels. Poorly applied liners can peel and cause worse blockages than rust.
Choose protection based on real usage:
If the bike is used regularly, keeping the tank full and using clean fuel can reduce moisture exposure.
If the bike is stored for long periods, a stabilizer and controlled storage environment help prevent recurrence.
If the tank has a history of repeated internal rust, a quality liner system may be considered after thorough prep.
Rust often returns because moisture is reintroduced or the tank is not dried and protected correctly. Common triggers include ethanol-blended fuel sitting for months, storage with a partially empty tank, and temperature swings that create condensation. Another frequent issue is contaminated fuel caps or venting systems that allow water entry.
| Condition After Inspection | Recommended Approach | Notes |
|---|---|---|
| Light surface haze | Degrease, short rust-removal soak, fast dry | Focus on drying and prevention |
| Flaking rust | Mechanical agitation plus chemical cycles | Flush repeatedly to remove debris |
| Recurring rust after cleaning | Improve drying and storage, consider liner | Liner success depends on prep quality |
| Pinholes or seam leakage | Repair or replace | Cleaning does not restore structural integrity |
Cleaning out a rusty motorcycle gas tank is a process of removal, control, and prevention. Degreasing removes varnish so rust treatment can work, mechanical agitation breaks loose scale, chemical soaking dissolves corrosion, and thorough neutralizing and fast drying prevent flash rust. The final step is protecting the clean surface through proper storage habits or, in specific cases, an internal liner applied with strict preparation.
If you are building new motorcycles, restoring older models, or sourcing reliable tanks for a production program, RUIYUE can support your specification and supply needs. Visit our motorcycle tank range and share your model, capacity requirement, and material preference. If you have questions about tank structure, coatings, or corrosion prevention, contact us and we can provide practical guidance based on your application.

 Mobile Phone:
 Phone:
 Contact Now