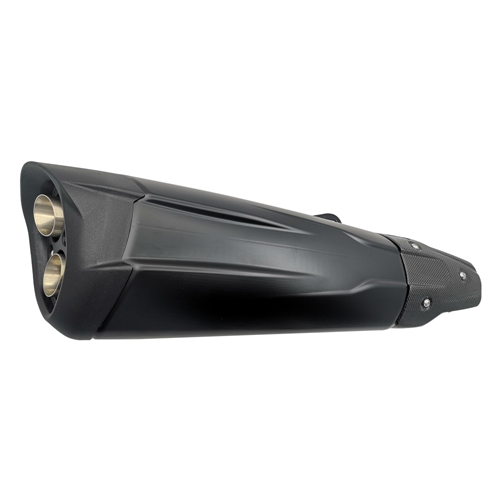
Wrapping a Motorcycle Exhaust is a popular way to improve heat management, enhance performance, and give your bike a clean, custom look. However, to get long-lasting and safe results, it’s important to follow the correct wrapping technique and understand how different conditions affect installation. This guide explains how to wrap motorcycle exhaust pipes step-by-step, with key preparation tips and post-installation care for both performance and durability.

Before starting, it helps to know why exhaust wrapping is done — it’s not just cosmetic.
Reduces radiant heat: Keeps heat inside the pipes, lowering temperature around the engine and rider’s legs.
Improves exhaust flow: Retained heat helps gases exit faster, improving efficiency.
Protects components: Reduces heat exposure to nearby parts like wiring, fairings, or the fuel tank.
Custom appearance: Gives the exhaust a matte, performance-inspired finish.
Whether your goal is heat control or visual appeal, proper wrapping ensures the best outcome.
To achieve a professional result, prepare the following tools before beginning:
Exhaust wrap roll (fiberglass, basalt/titanium, or ceramic type)
Stainless steel locking ties or hose clamps
Protective gloves and safety glasses
Bucket of water (for soaking the wrap, if required)
Scissors or sharp shears
Optional high-temperature spray sealant (to finish and protect the wrap)
Different wrap materials have unique requirements — fiberglass wraps should be soaked in water for flexibility, while titanium wraps can be applied dry.
It’s easier and safer to wrap when the pipes are detached from the motorcycle. Allow the exhaust to cool completely before handling.
Remove dirt, oil, and rust using a wire brush or degreaser. A clean surface ensures proper adhesion and prevents trapped debris from damaging the wrap.
Start wrapping from the exhaust outlet toward the engine, overlapping each layer by ¼ to ½ inch (6–12 mm). This overlap ensures smooth coverage and prevents unraveling under vibration.
Soak the exhaust wrap in water for 5–10 minutes. This prevents fraying and helps it conform tightly to bends. Titanium or basalt wraps do not require soaking.
Secure one end of the wrap with a stainless steel tie or clamp near the pipe outlet. Wrap tightly and evenly, maintaining tension to eliminate gaps or wrinkles.
Continue wrapping toward the engine side, overlapping each turn by about 25–50%. This overlap helps retain heat evenly across the pipe.
At tight bends, slightly stretch the wrap to avoid bulging. If necessary, cut shorter pieces for complex shapes and secure each end separately.
When you reach the end near the header, fasten it tightly with another stainless clamp. Double-check both ends for security and alignment.
If wet, let the wrapped exhaust dry for several hours before reinstallation. Once mounted, start the engine and allow it to heat gradually — the wrap will smoke slightly during curing, which is normal.
For everyday riding, use fiberglass or titanium wraps rated up to 1000°C (1800°F). These provide excellent thermal control and last for years under normal road conditions.
Avoid excessive overlap that may trap moisture, especially if riding in humid climates.
High-performance bikes generate more exhaust heat. Choose basalt or ceramic wraps that withstand up to 1200°C (2200°F). Combine with high-temp silicone coating spray for added protection and to prevent oil absorption.
Dust, mud, and water exposure can deteriorate untreated wraps. Use sealed titanium wraps and inspect regularly for damage. If waterlogged, run the engine briefly to evaporate trapped moisture after riding in wet terrain.
For show motorcycles, evenly spaced overlapping and smooth tie finishes create a clean, symmetrical look. Consider colored wraps or heat-resistant paints for style coordination.
After wrapping your exhaust, a few simple maintenance steps ensure longevity:
Inspect regularly: Look for loose ends or burnt sections and replace as needed.
Clean gently: Avoid using harsh chemicals or high-pressure water.
Re-tighten clamps: Heat expansion can loosen metal ties over time.
Reapply protective coating: Use a high-temp silicone spray once or twice per year for moisture protection.
A properly installed and maintained exhaust wrap can last several seasons without needing replacement.
Wrapping a motorcycle exhaust is a practical and stylish modification that enhances both performance and appearance. The key is proper preparation, consistent overlap, and secure fastening.
By selecting the right wrap material and installation method for your riding conditions, you can effectively manage heat, protect nearby components, and achieve a professional finish that complements your bike’s design.
When done correctly, exhaust wrapping not only improves functionality — it also adds a distinct, custom edge to your motorcycle.