Winterizing a motorcycle means preparing it for a period when it will not be ridden regularly.
The main goals are to reduce fuel deterioration, battery discharge, corrosion, tire damage, moisture accumulation, and problems caused by leaving the engine and controls unused.
The exact procedure depends on the motorcycle, storage duration, fuel system, battery type, climate, and owner’s manual.
Indoor storage is preferable when it is dry, ventilated, secure, and protected from major temperature changes.
Avoid locations where the motorcycle is exposed to:
Road salt
Fertilizer
Pool chemicals
Constant condensation
Roof leaks
Direct sunlight
Welding or grinding dust
Rodents
Unstable flooring
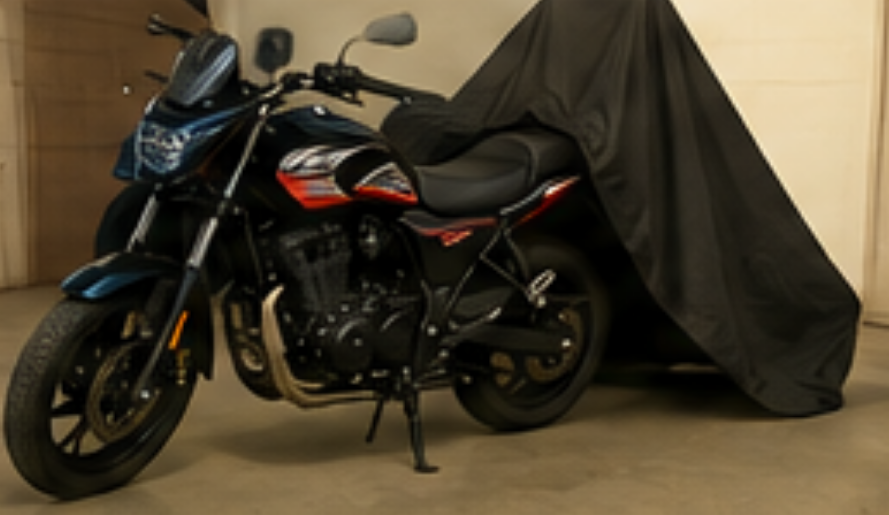
A breathable motorcycle cover is usually more suitable than an airtight plastic sheet that traps moisture.
Wash away dirt, insects, oil residue, and road contaminants.
Dry the motorcycle carefully around:
Fasteners
Cooling fins
Cable guides
Wheel hubs
Brake calipers
Tank seams
Fender mounts
Exhaust joints
Do not cover the motorcycle while water remains trapped in seams or beneath accessories.
Apply a compatible protectant to painted, chrome, metal, plastic, or carbon-fiber surfaces according to the product instructions.
Keep oils and polish away from brake discs, brake pads, tires, seats, grips, and foot controls.
Fuel can degrade during storage and leave deposits.
Follow the motorcycle manufacturer’s instructions regarding fuel stabilizer, tank level, carburetor drainage, or fuel-system preparation.
Many fuel-injected motorcycles are stored with stabilized fuel to reduce empty air space in the tank.
Some carbureted motorcycles may require float-bowl draining.
The correct procedure depends on the fuel system and tank material. Never drain fuel indoors or near ignition sources.
Check the cap, vent, fuel lines, pump connections, mounting hardware, and external finish.
A custom motorcycle fuel tank must match the frame, seat, fuel system, steering clearance, and mounting points.
Tanks should also be checked for leakage and correct venting before use.
Our motorcycle-tank category includes board-track-style tanks, heavy-duty steel tanks, EFI-oriented designs, tank caps, and classic custom structures.
Review the owner’s manual for:
Engine oil
Brake fluid
Coolant
Clutch fluid
Final-drive oil
Fork service
Fuel-system requirements
Some manufacturers recommend changing engine oil before storage because used oil may contain contaminants.
Do not start the motorcycle briefly every few weeks unless the engine will reach the full operating condition recommended by the manufacturer. Short starts can create condensation and may not recharge the battery.
A motorcycle battery may discharge slowly even when the motorcycle is switched off.
Use a charger or maintainer compatible with the battery chemistry. Lead-acid, AGM, lithium-ion, and other batteries may require different charging profiles.
Clean the terminals.
Check cable tightness.
Inspect for swelling or leakage.
Connect a compatible maintainer.
Keep charging leads protected.
Follow indoor-storage rules for removable batteries.
Do not charge a frozen or damaged battery.
Inflate the tires to the motorcycle manufacturer’s storage recommendation.
Move the motorcycle periodically or use suitable stands when recommended, especially during long storage.
Confirm that stands are stable and do not overload an unsuitable part of the frame or exhaust.
Inspect the tires for cracking, flat spots, punctures, and age before riding again.
Allow the exhaust to cool completely before storage.
Clean exterior residue and check the muffler, link pipes, brackets, heat shields, and drain points.
Loose brackets can allow vibration damage when riding resumes.
Rodent protection should not block the exhaust in a way that can be forgotten. Use visible, purpose-made storage methods and remove all protection before starting the engine.
Remove food, fabric nesting material, and cardboard from the storage area.
Inspect air-intake openings, wiring, seat areas, and luggage compartments before the motorcycle returns to service.
A moisture absorber may help in certain enclosed spaces, but it should not spill onto metal, paint, or electrical parts.
Before the first ride:
Remove the cover and storage protection.
Inspect for leaks and animal damage.
Check tire pressure and condition.
Test lights, controls, horn, and battery.
Check fluid levels.
Inspect brakes and brake discs.
Confirm chain or belt condition.
Verify exhaust and fuel-tank fasteners.
Start the engine according to the owner’s manual.
Complete a cautious low-speed test before normal riding.
Our factory operates dedicated fuel-tank and exhaust production lines for custom and aftermarket motorcycle products.
Manufacturing support includes material preparation, forming, welding, surface treatment, assembly, inspection, customized packaging, and sample development.
Buyers can provide frame drawings, physical samples, capacity requirements, mounting dimensions, and finish references for technical review.
Sourcing custom tanks for motorcycle manufacturers, modification brands, distributors, or restoration projects?
Provide the motorcycle frame dimensions, required capacity, fuel-system type, mounting points, cap design, material, surface finish, packaging, and order quantity. We will review the structure and prepare a Custom Motorcycle Fuel Tank proposal.

 Mobile Phone:
 Phone:
 Contact Now